Sewing the Tail
You need:

Remarks
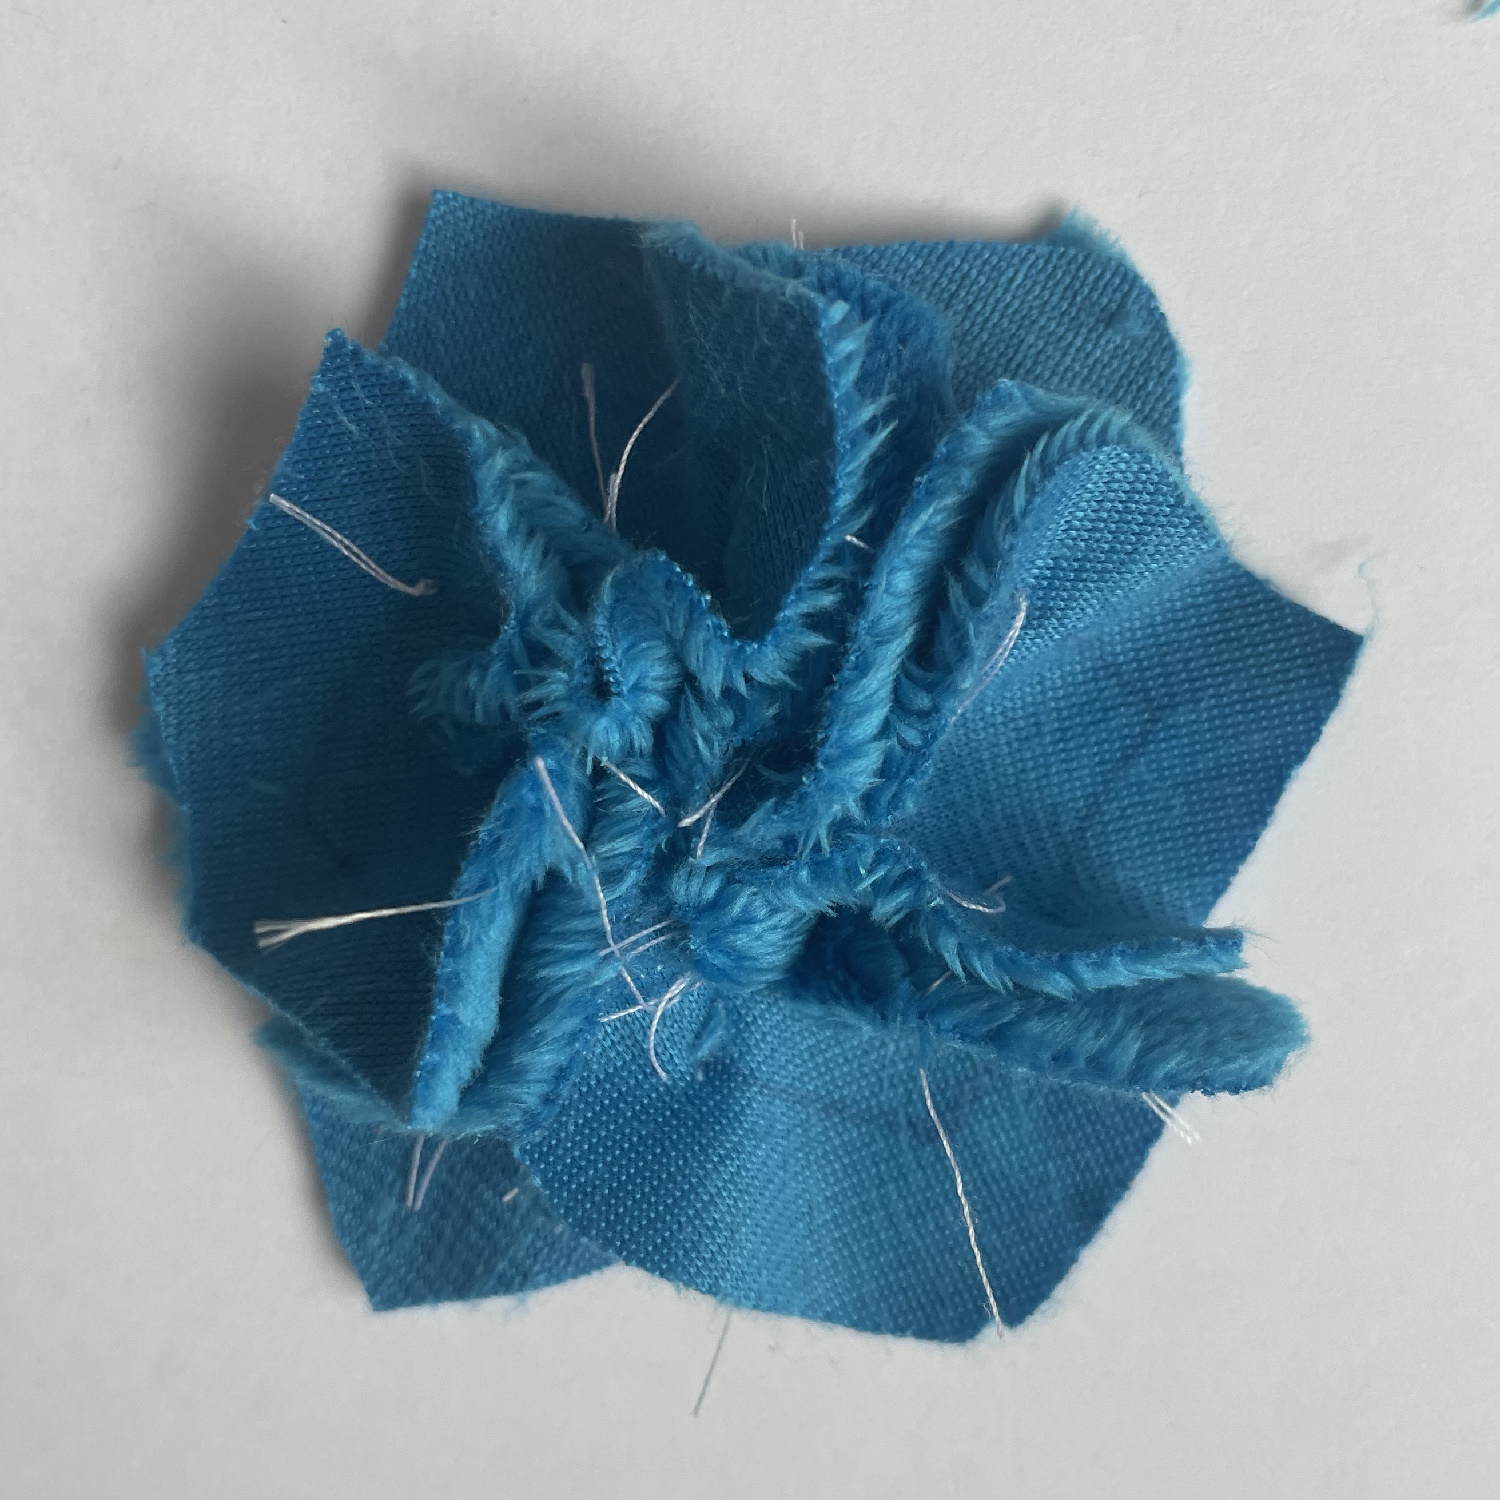
The tail consists of two pieces that are attached on top of each other. The Tail A is attached first. The Tail B and C pieces are attached around Tail A, so that most of Tail A is hidden. This approach of layering keeps the stuffing firmly in place and creates a very defined shape.
Step 1
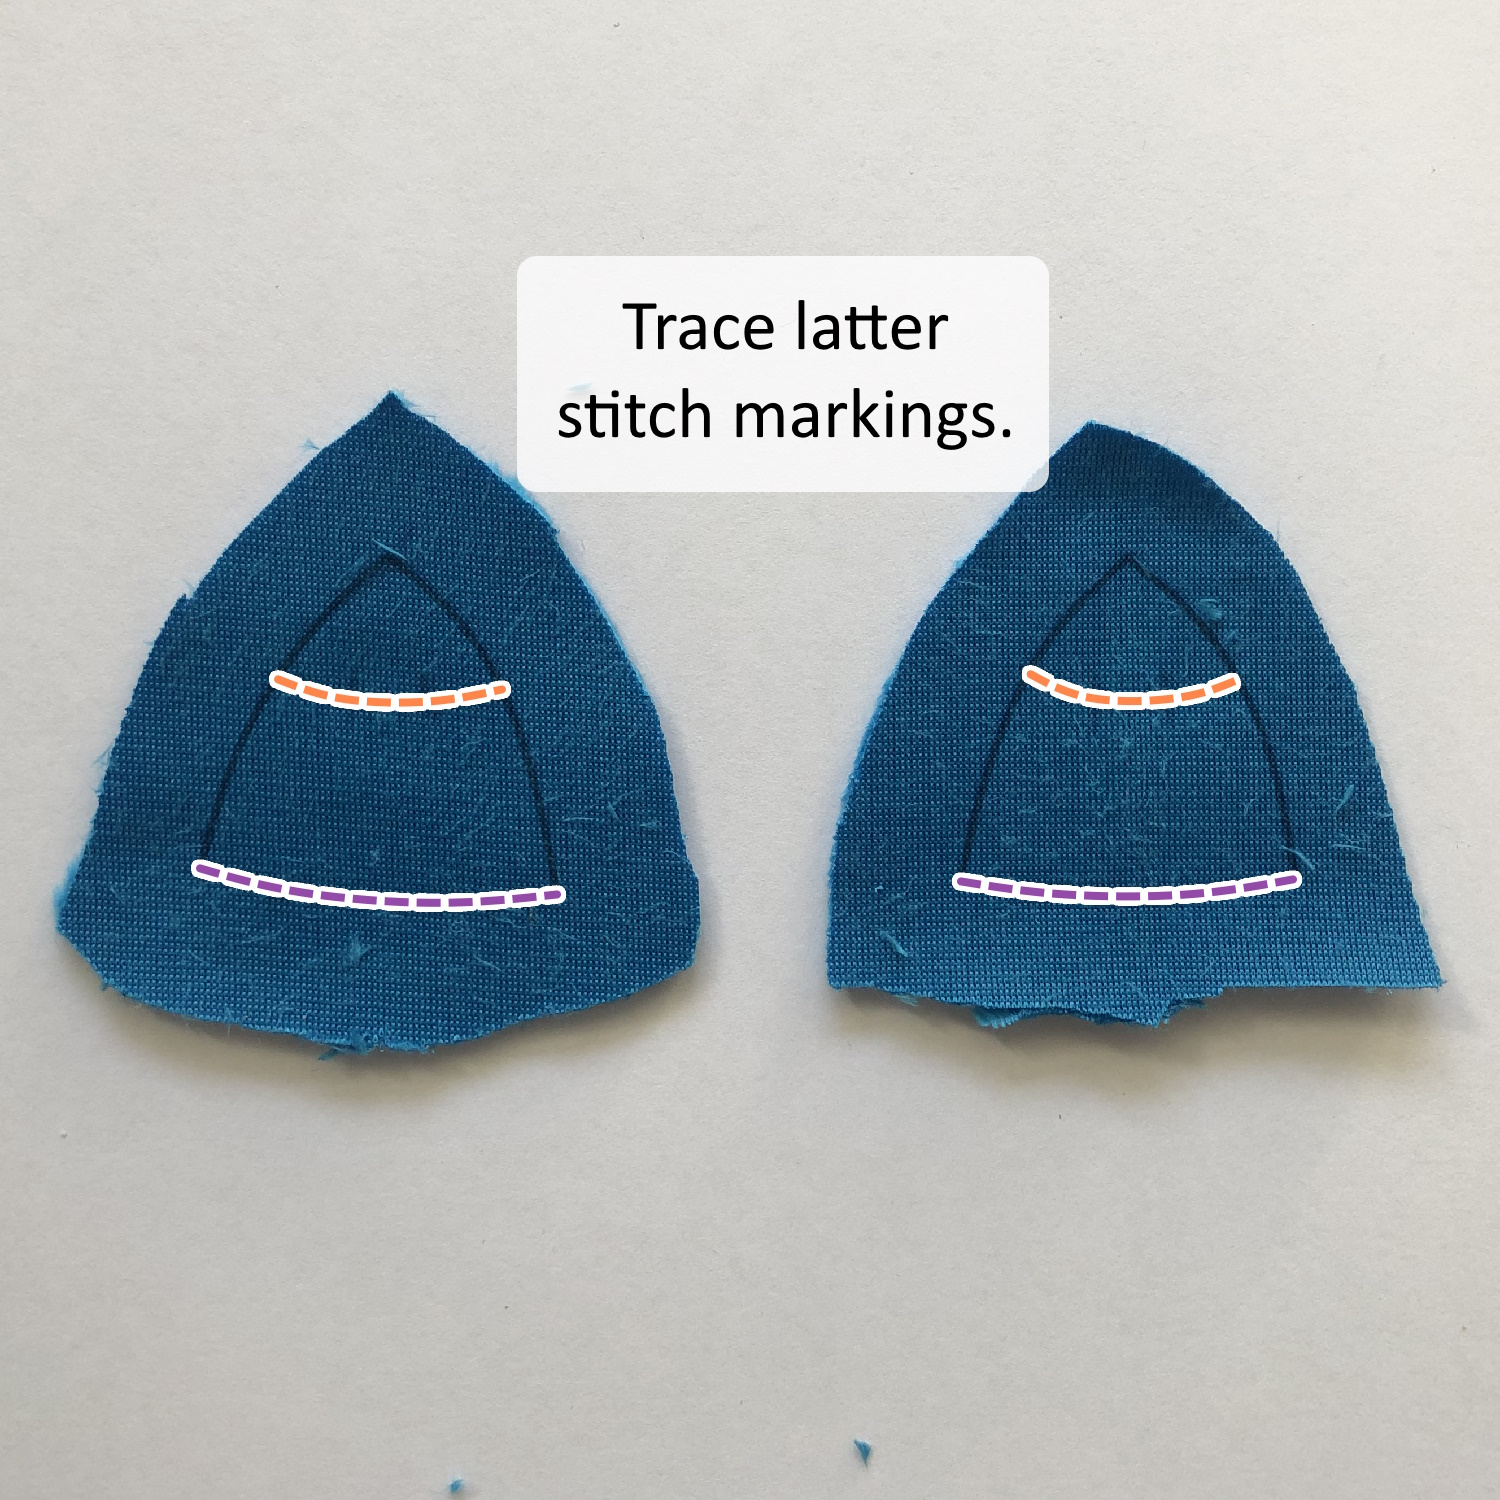

Trace Latter Stitch Markings c and e onto the front of the Tail A pieces. This is where the Tail A is attached to the body and where the Tail C pieces are attached to Tail A, respectively.
Step 2

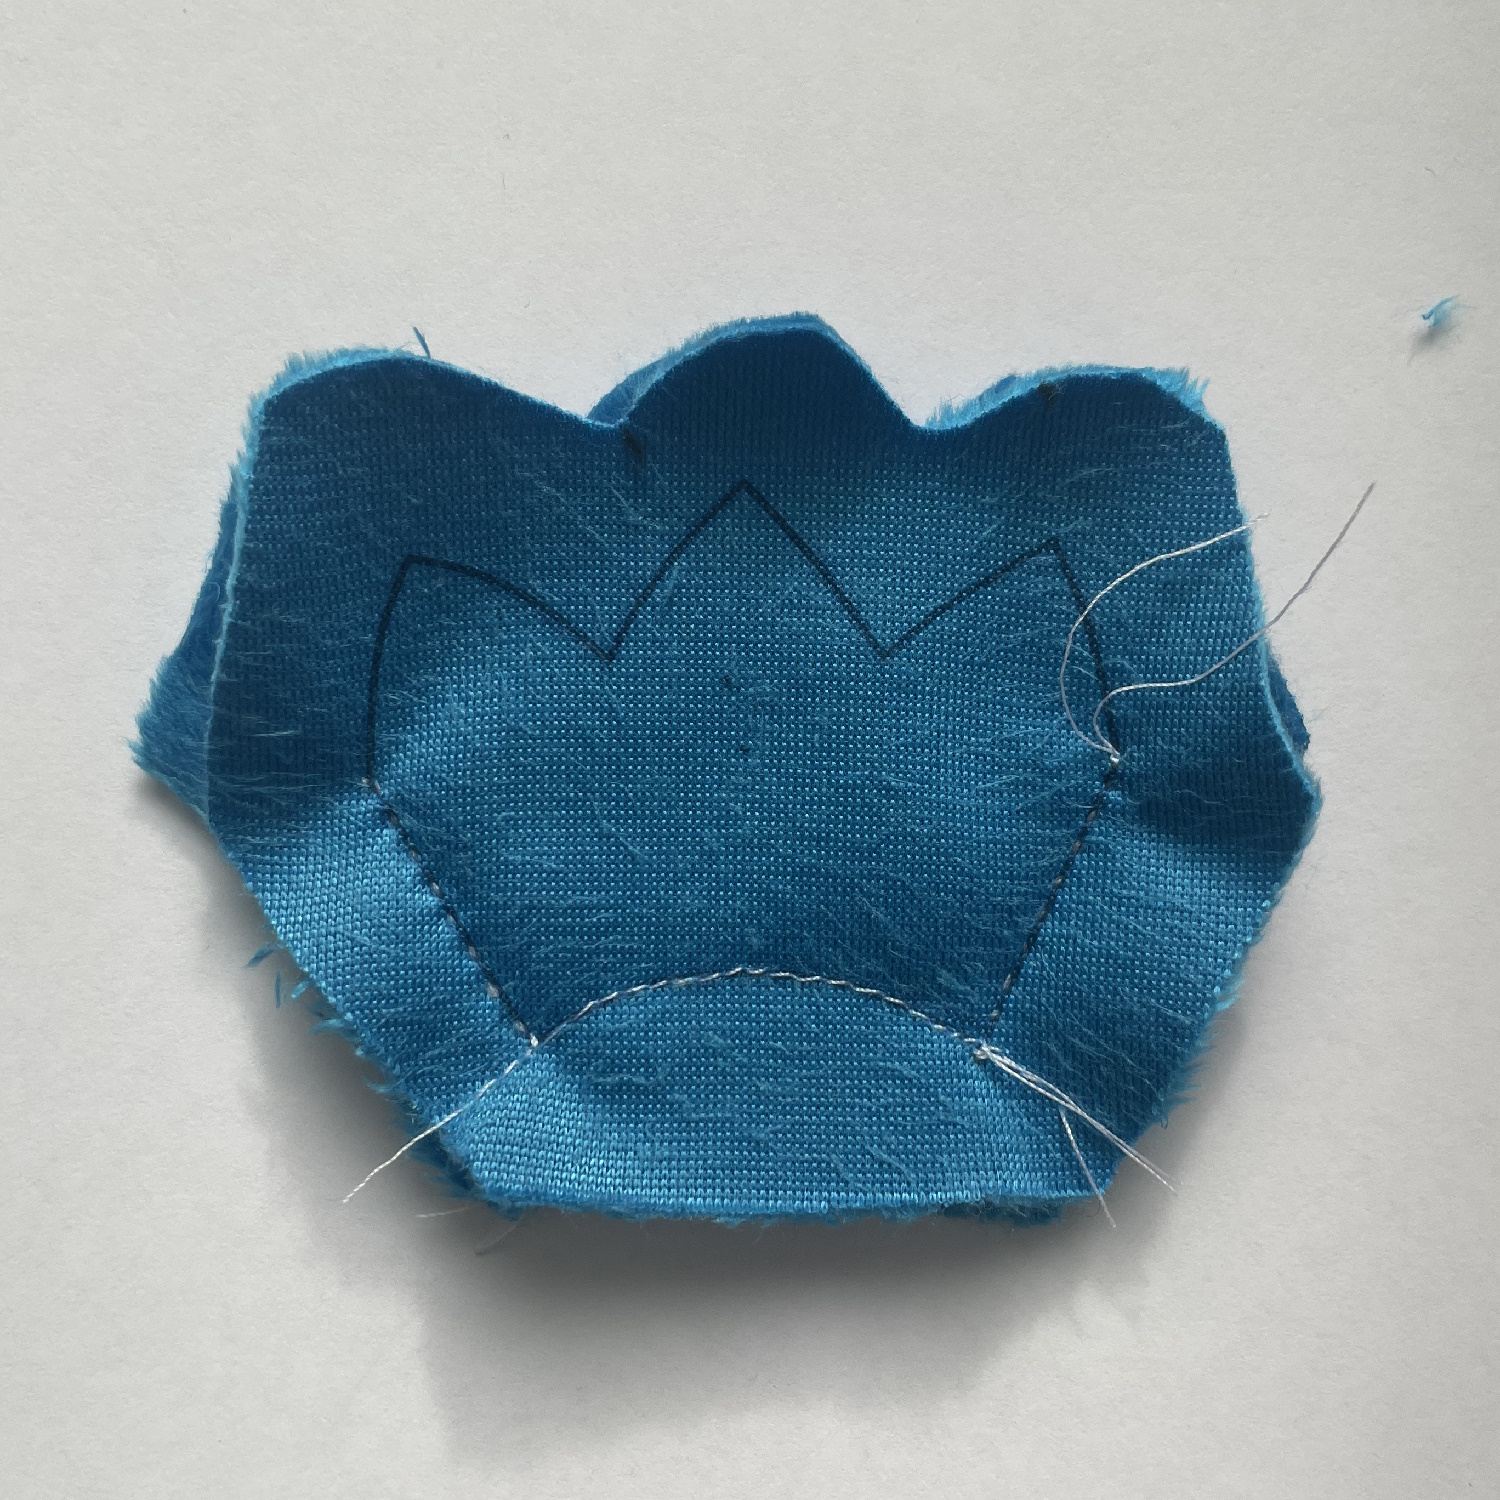
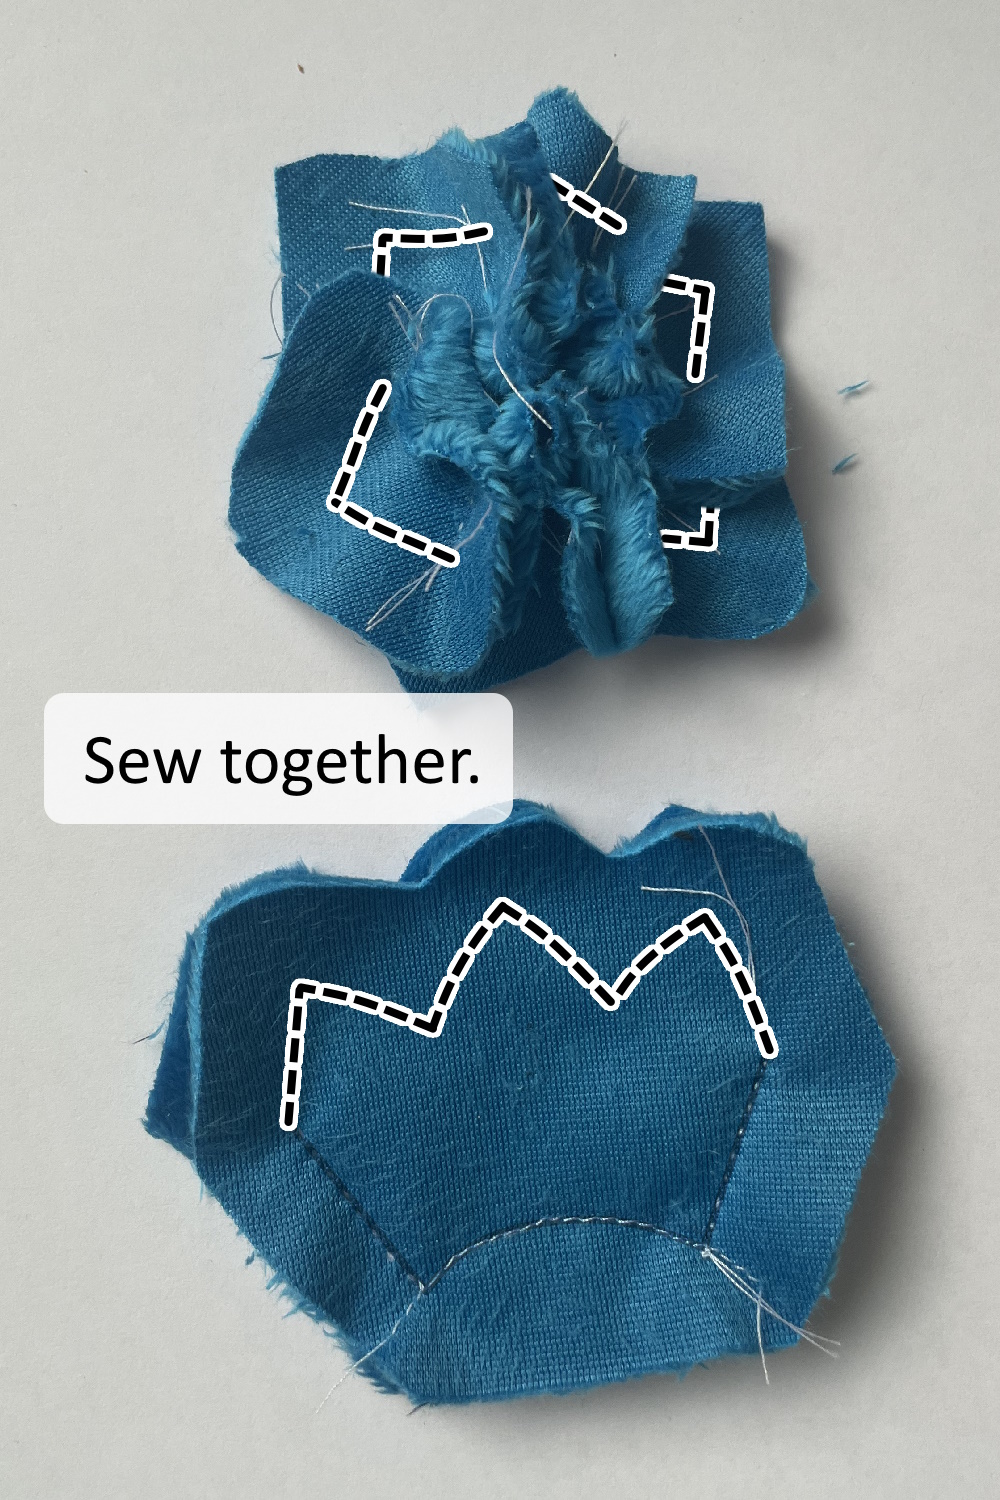
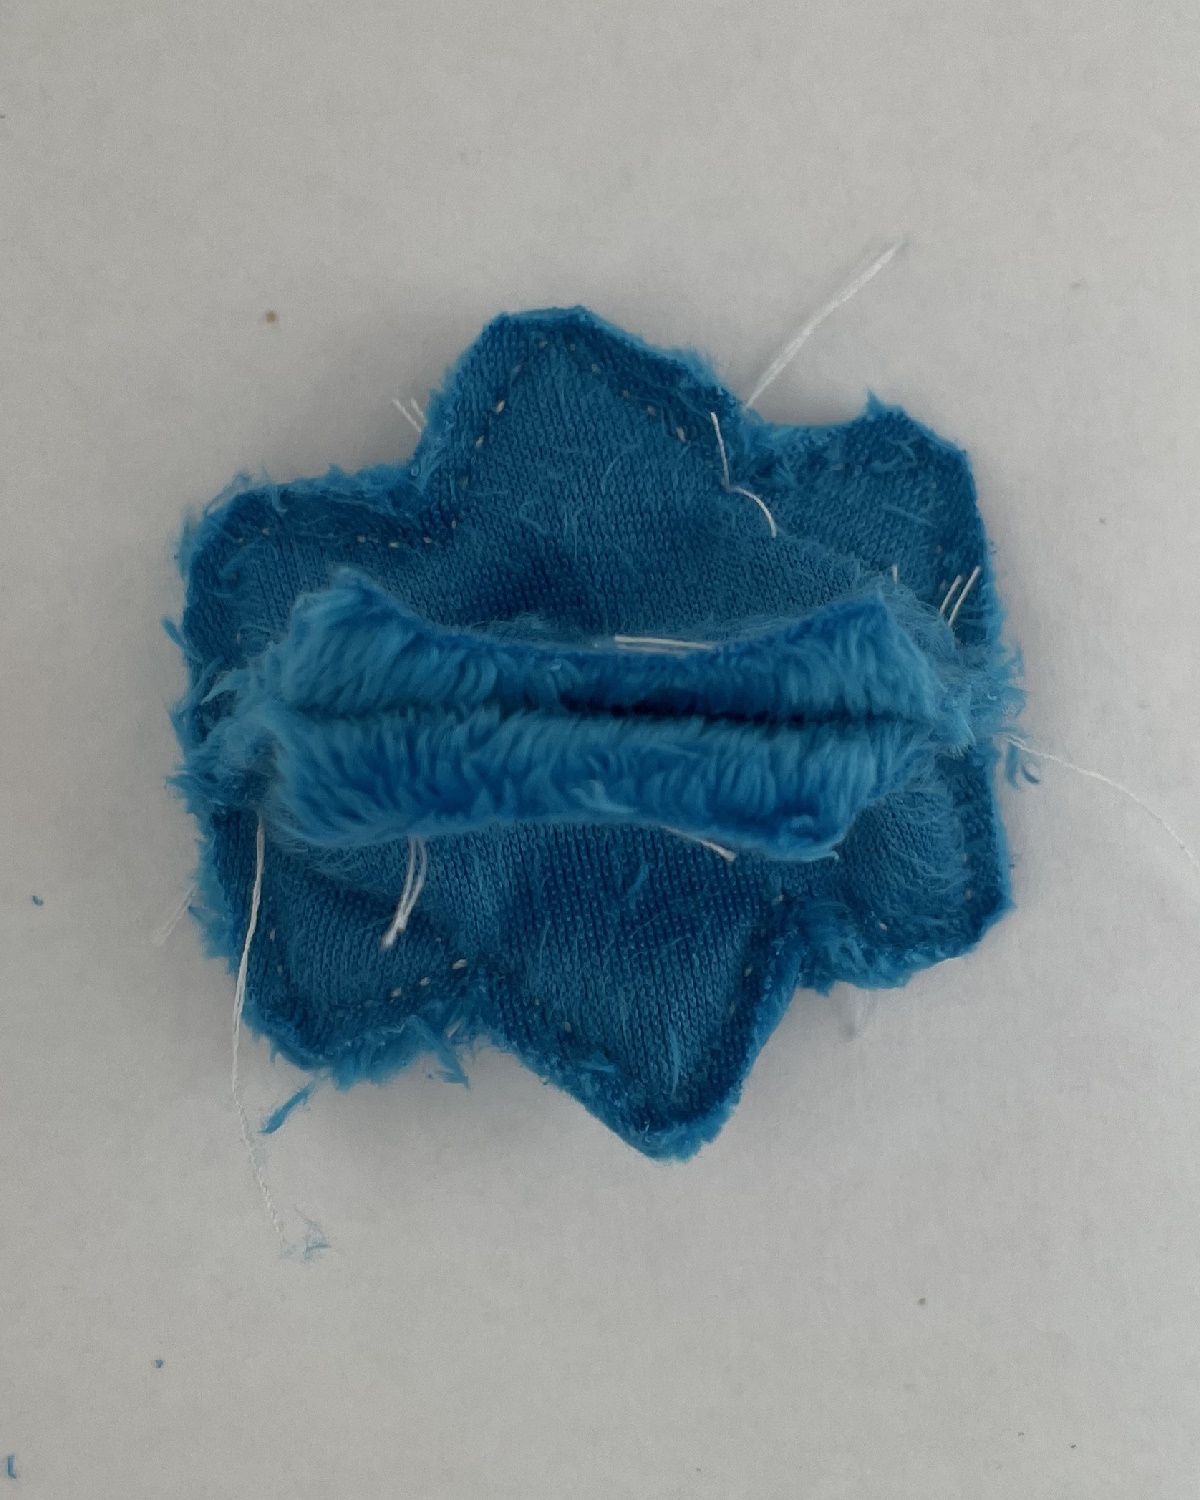
Sew the two Tail A pieces together along their Mirror Seam ||.
Step 3
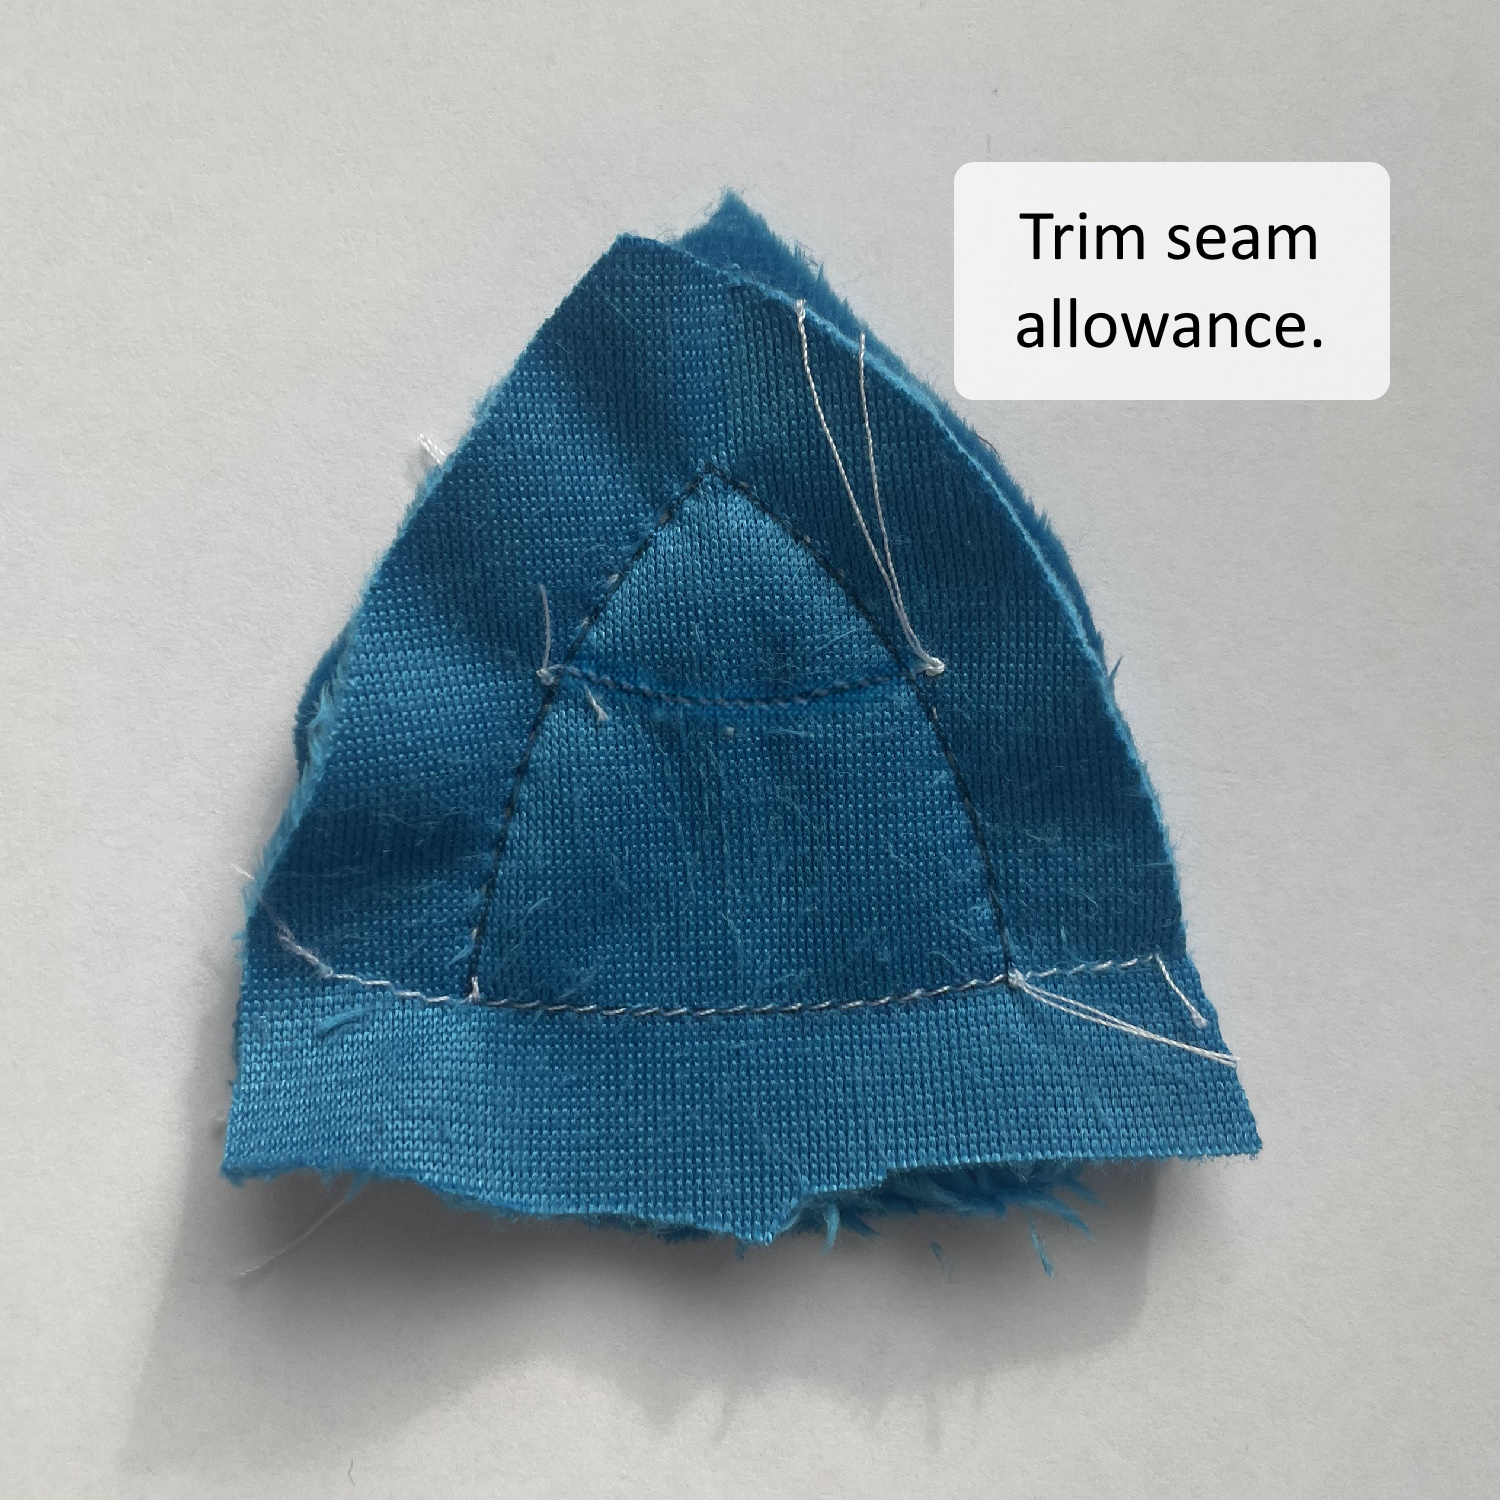

Trim the seam allowance.
Step 4

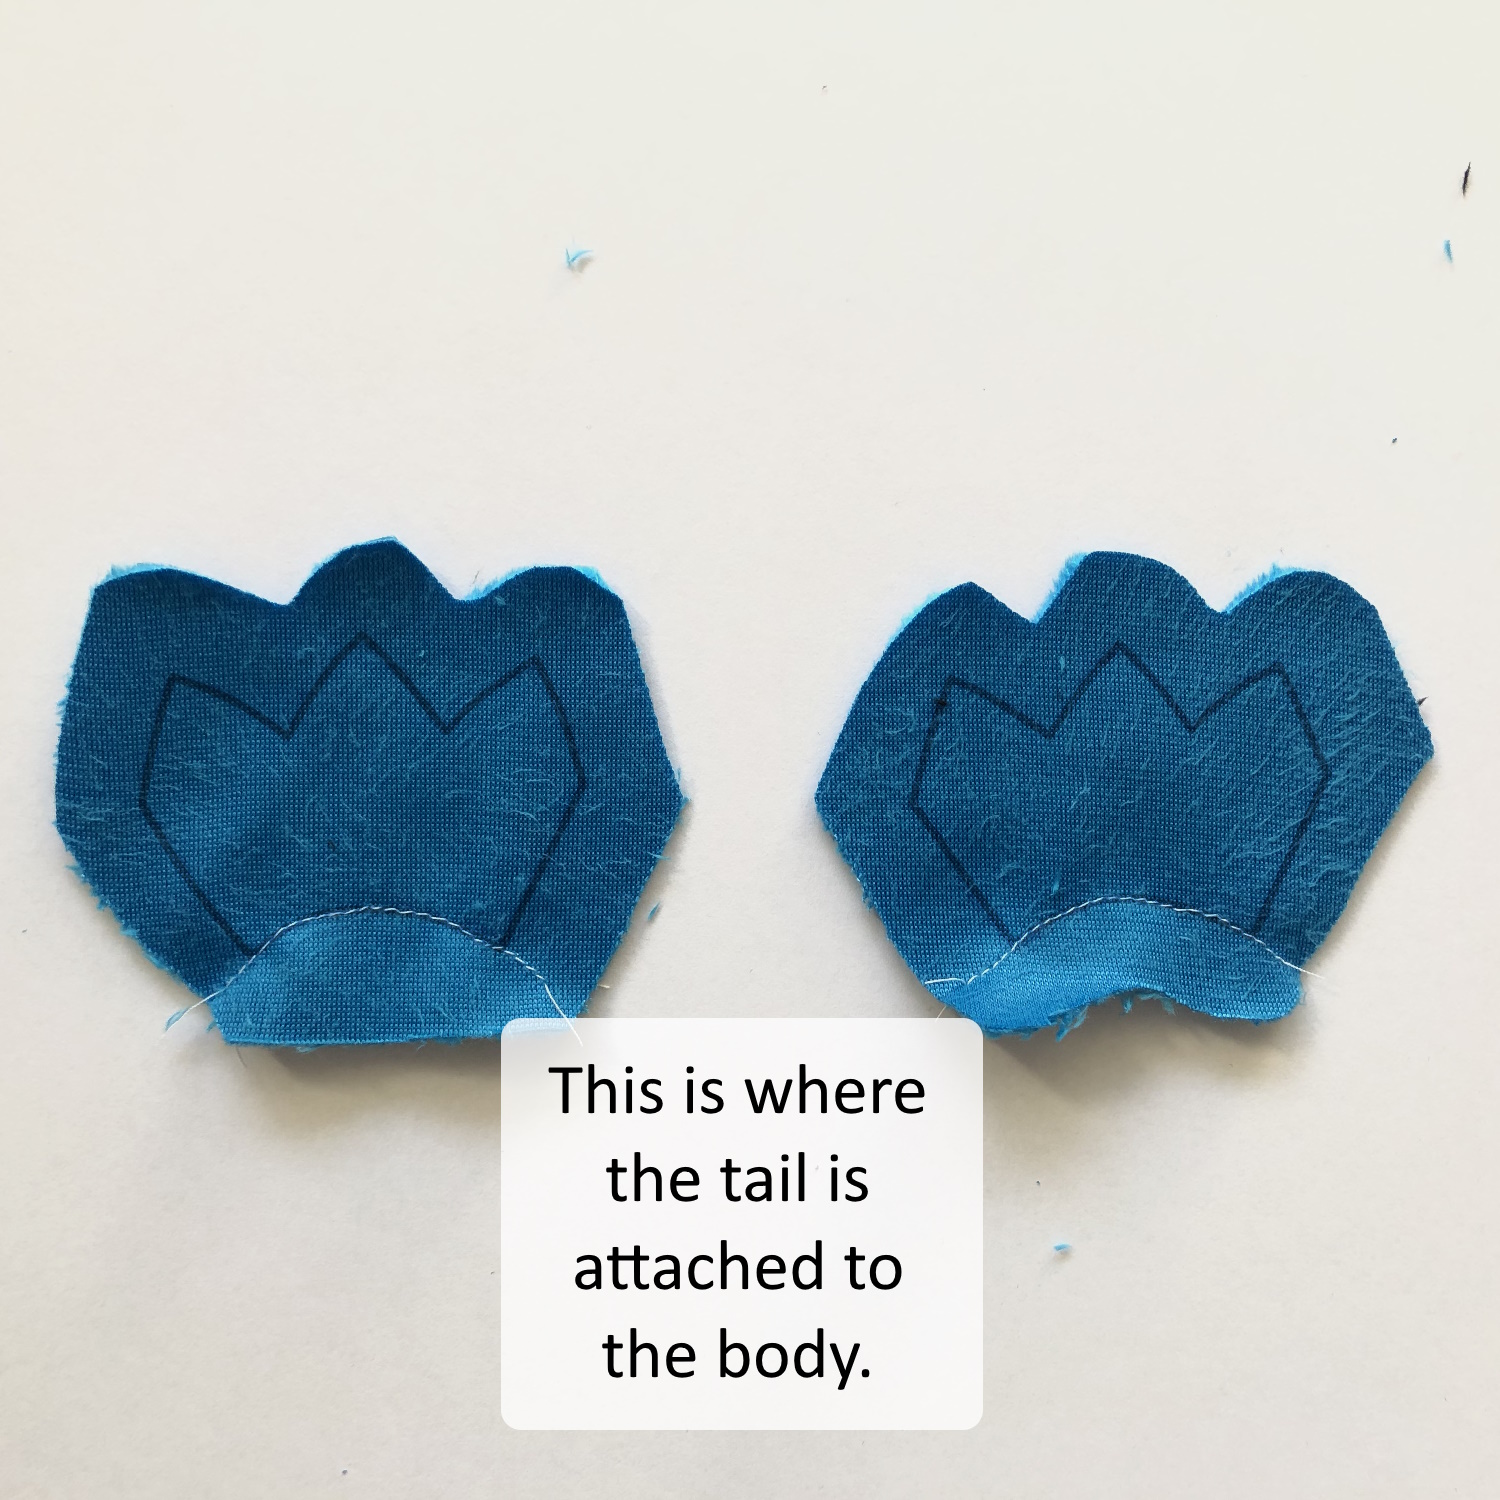
Trace the Latter Stitch Markings c onto the front of the Tail B pieces. This is where the Tail B is attached to the Body on top of Tail A.
Step 5
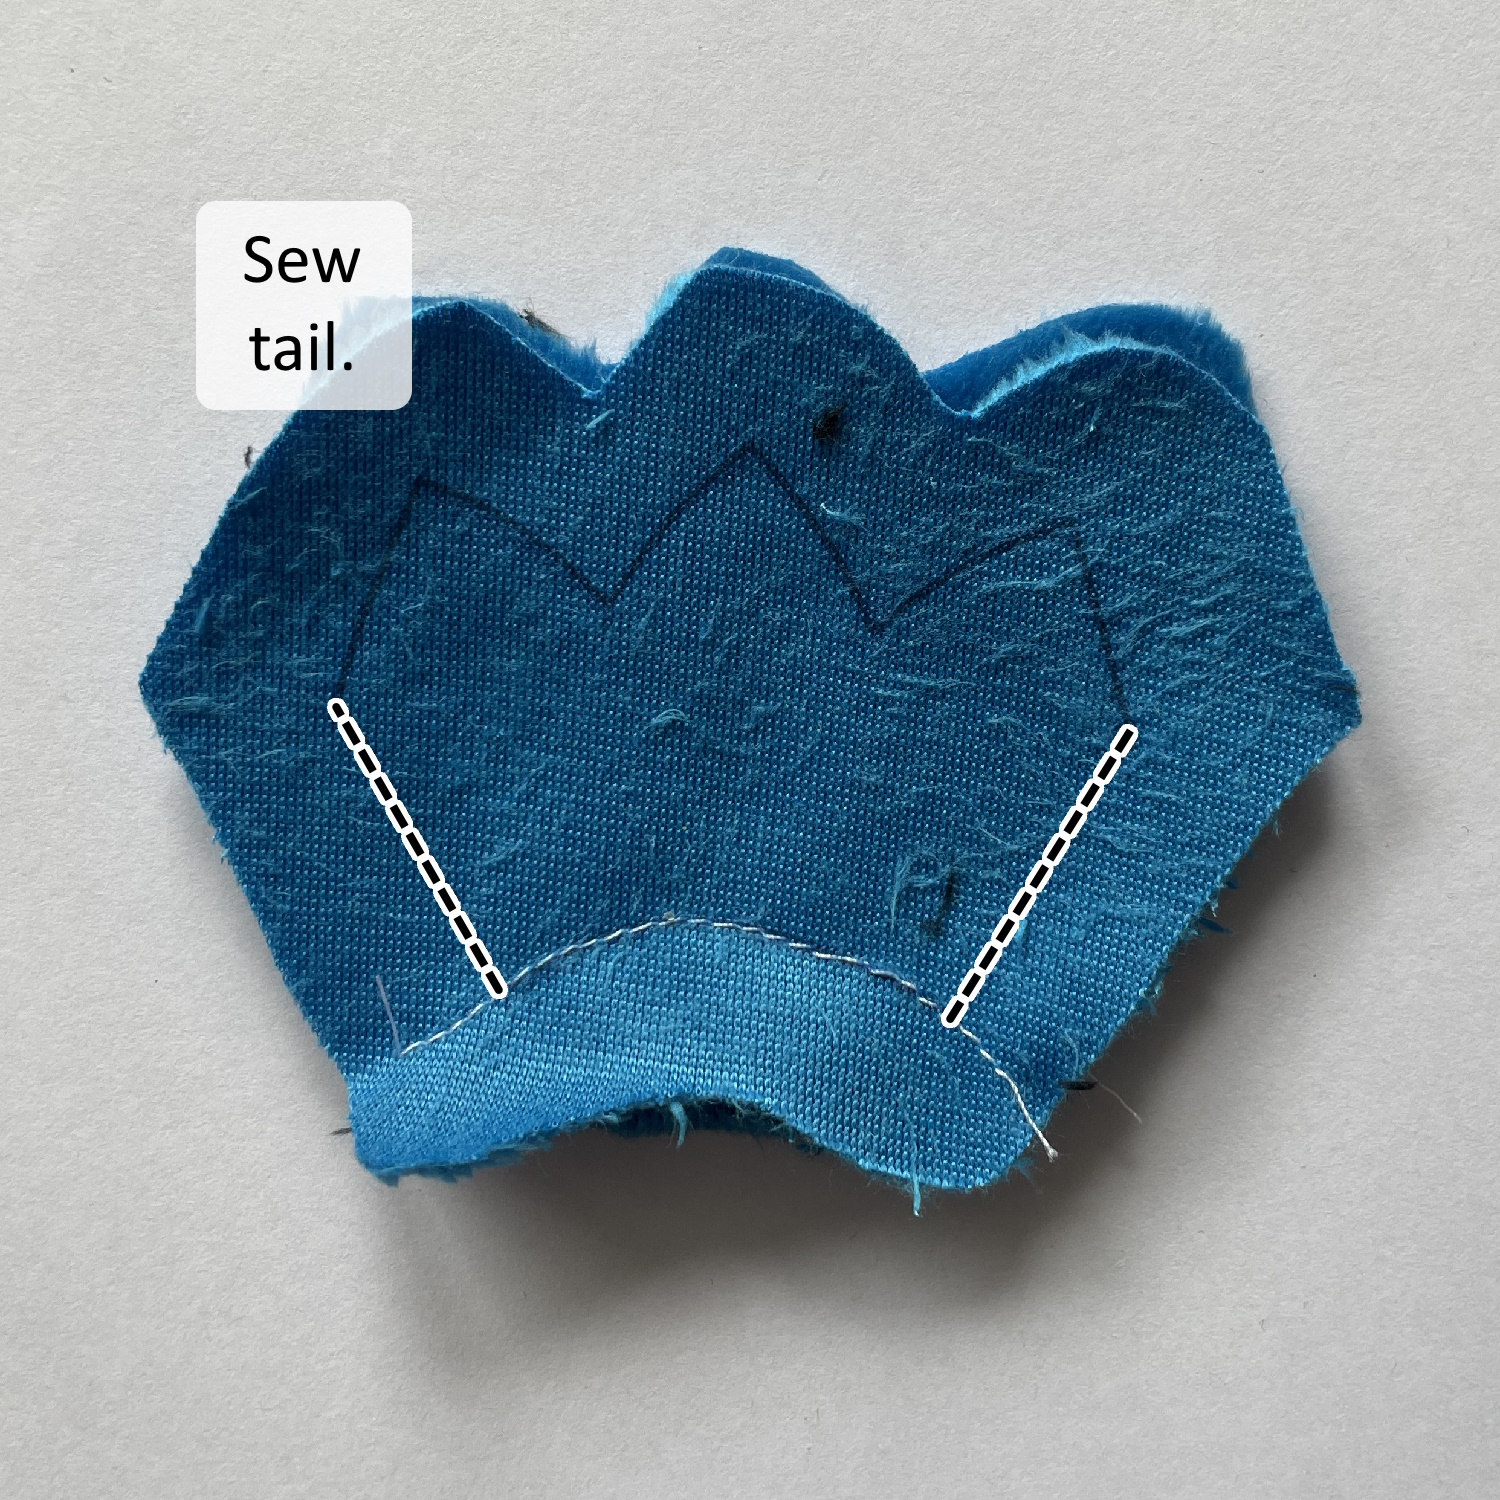
Sew together the two Tail B pieces along the Mirror Seams ||
Step 6
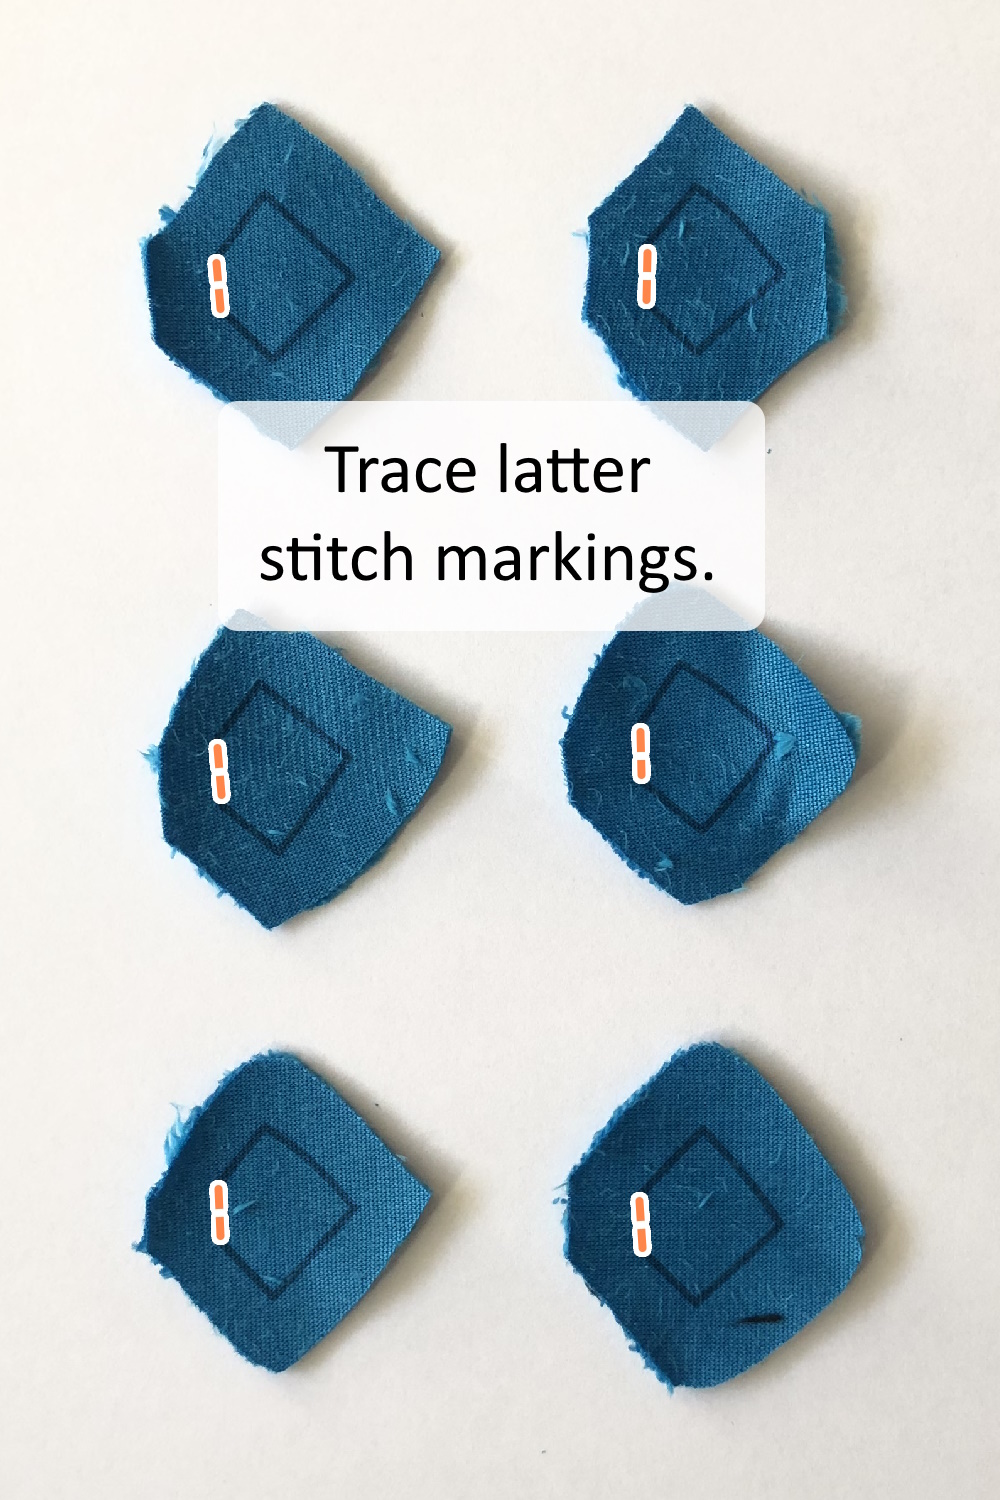
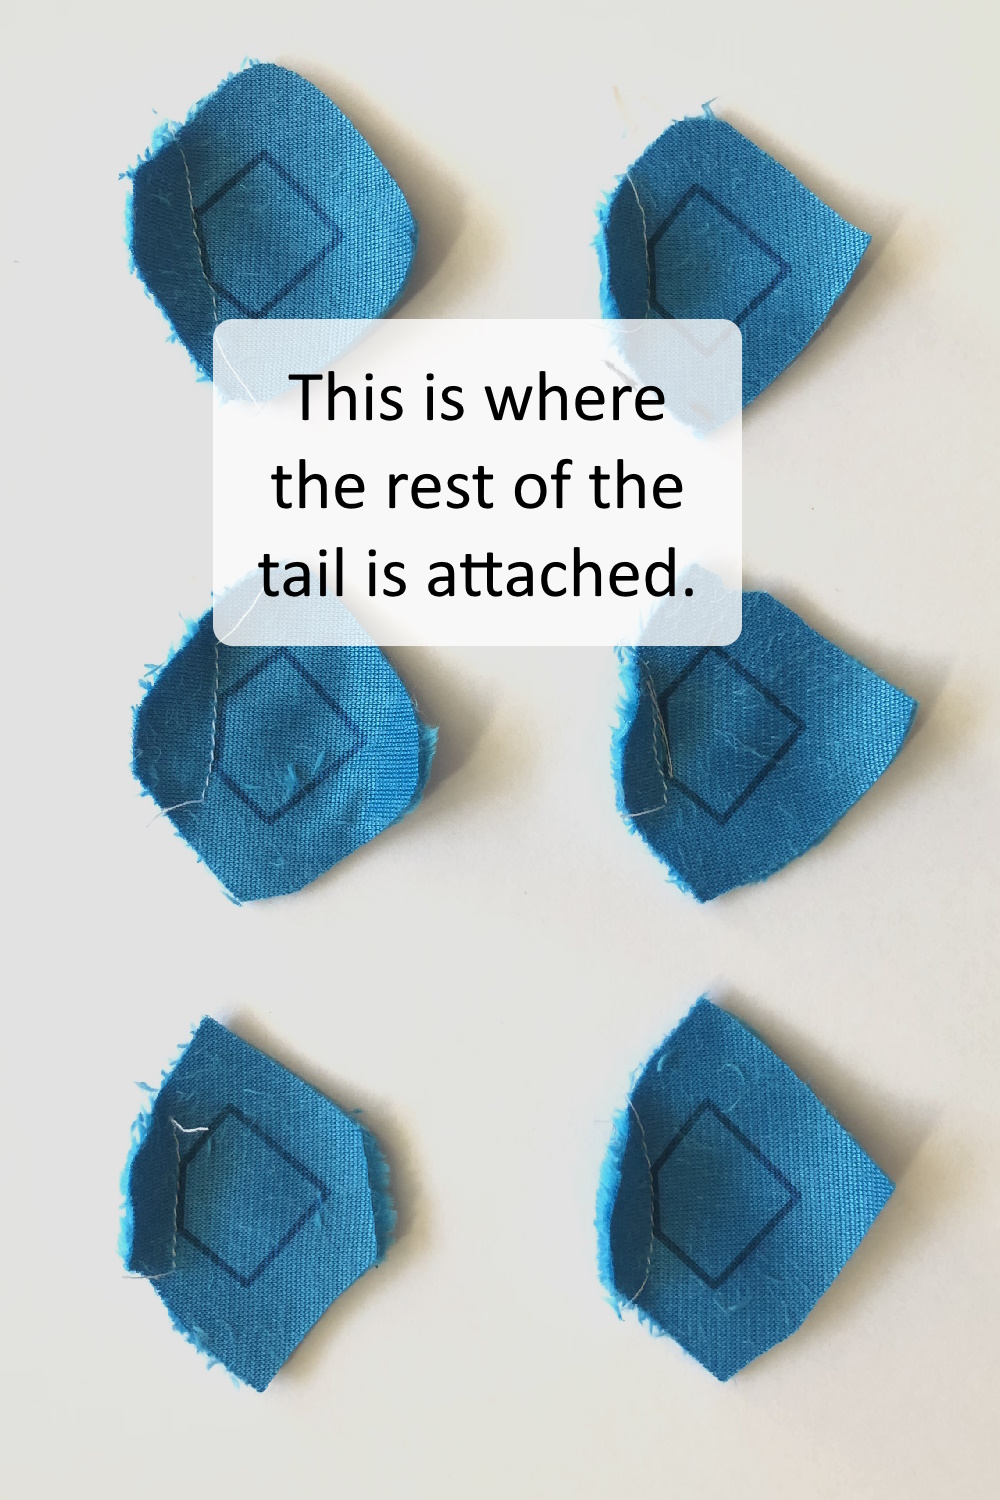
Trace the Latter Stitch Markings e onto all six Tail C pieces. This is where the outer part of the Tail is attached to Tail A.
Step 7
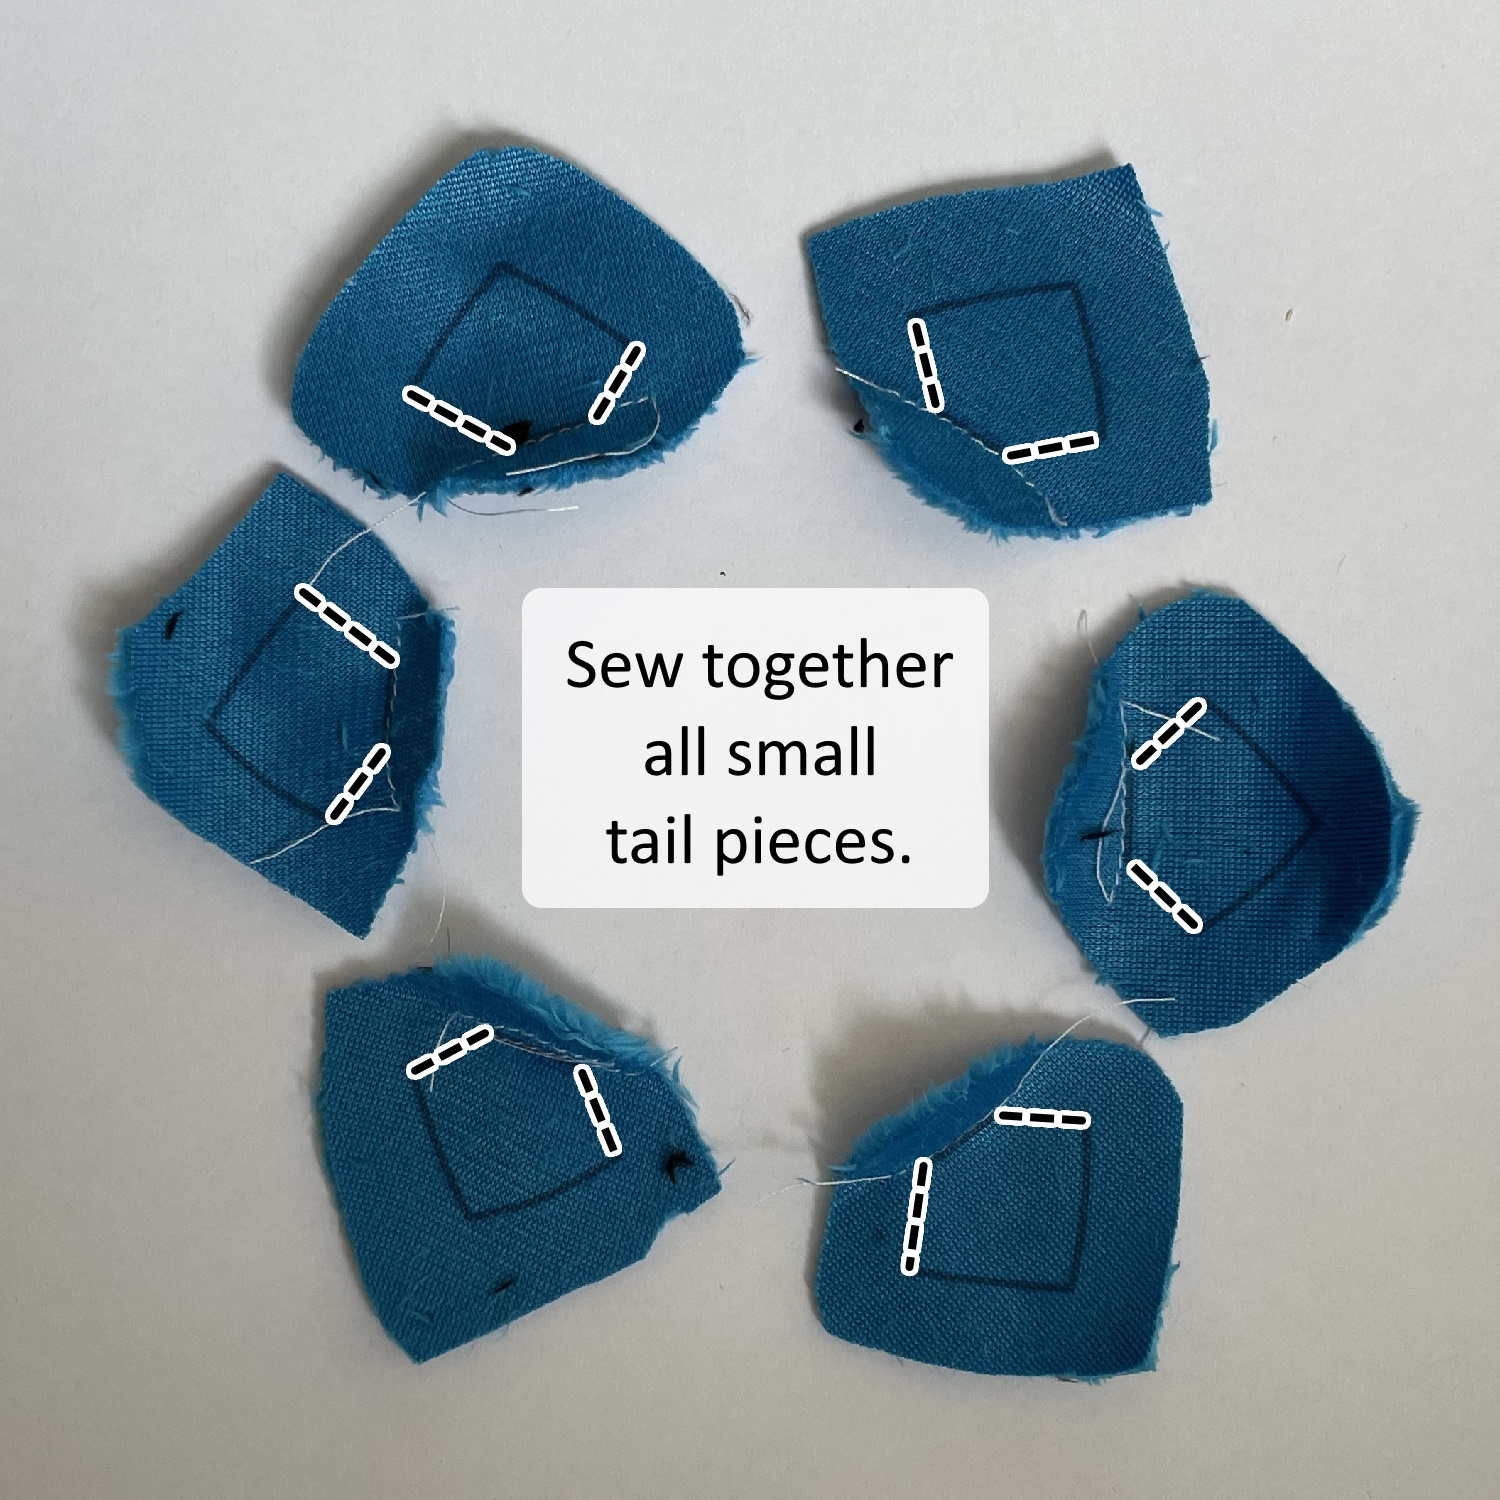

Lay out the Tail C pieces in a circle and sew each piece together with its neighbors along the Mirror Seams ||.
Step 8
Attach the Tail C Circle to Tail B along Seams T.
Step 9
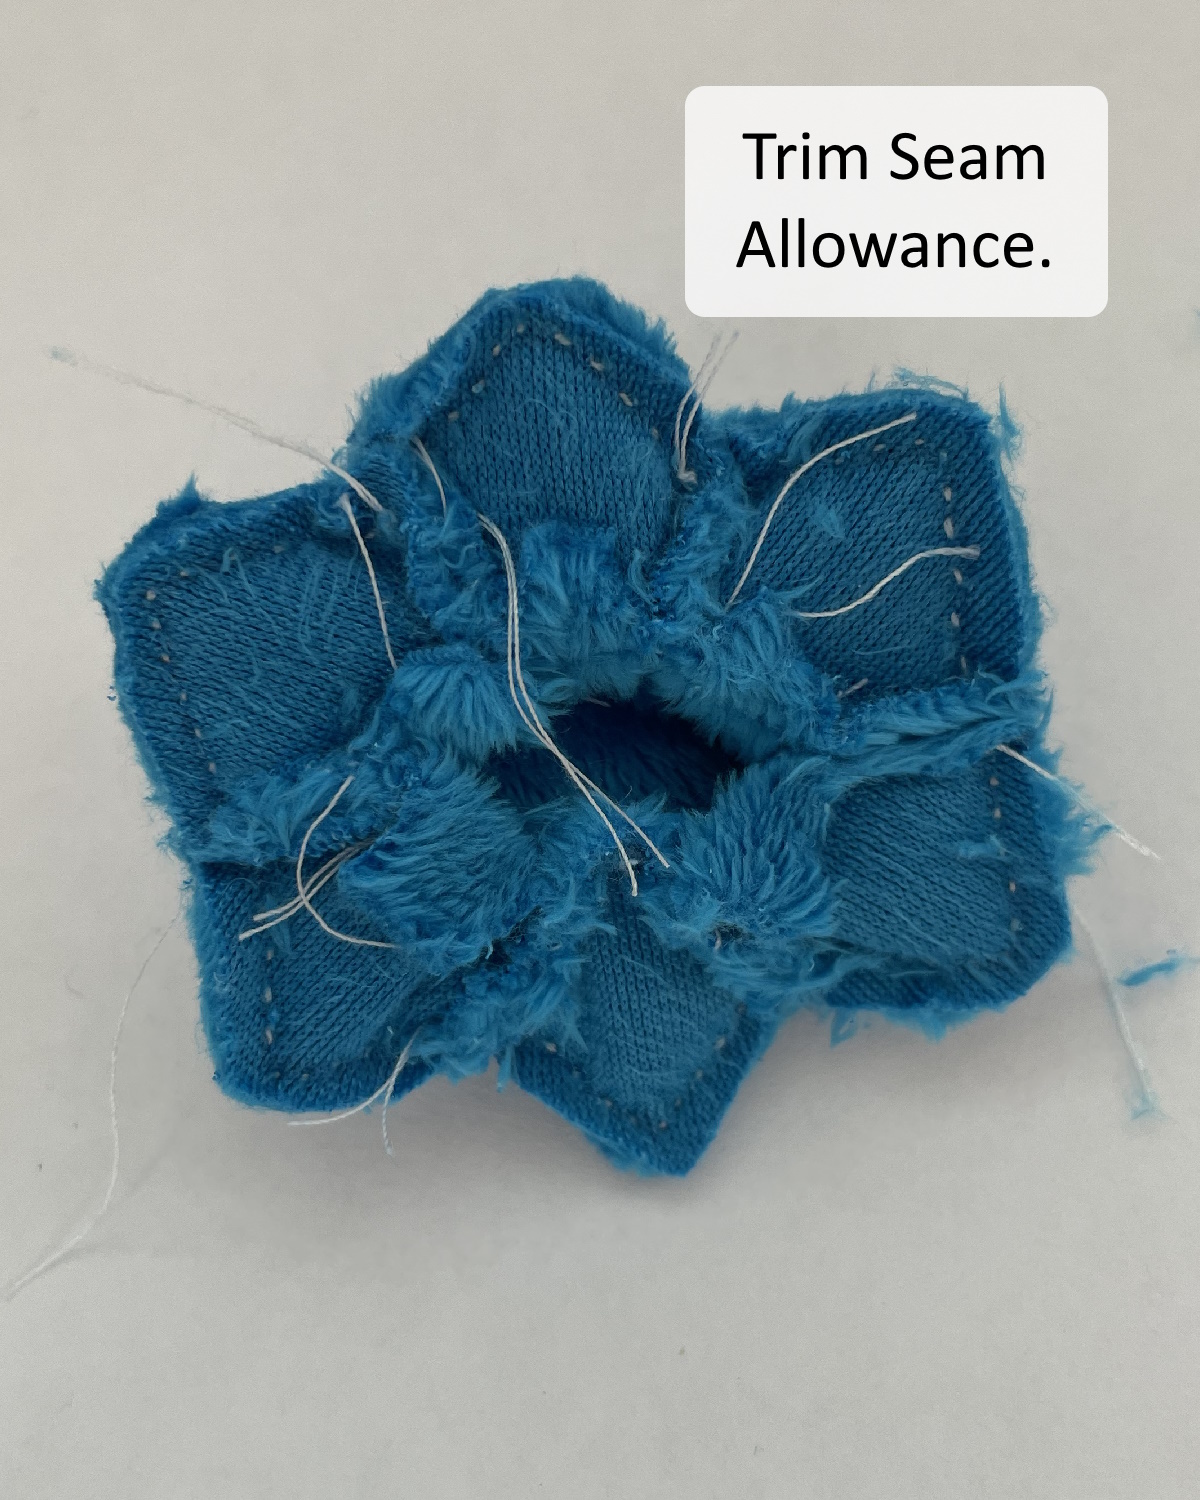
Trim seam allowance.